Creating a New Data Feed

Creating a New Data Feed

To start a new Data Feed from scratch:

  1. Go to content
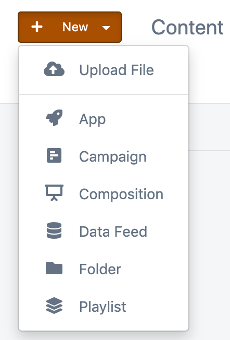
  2. Click on the New Button
  3. Select “Data Feed”

  1. As this is a new Data Feed, the first step is to configure each column of the feed.

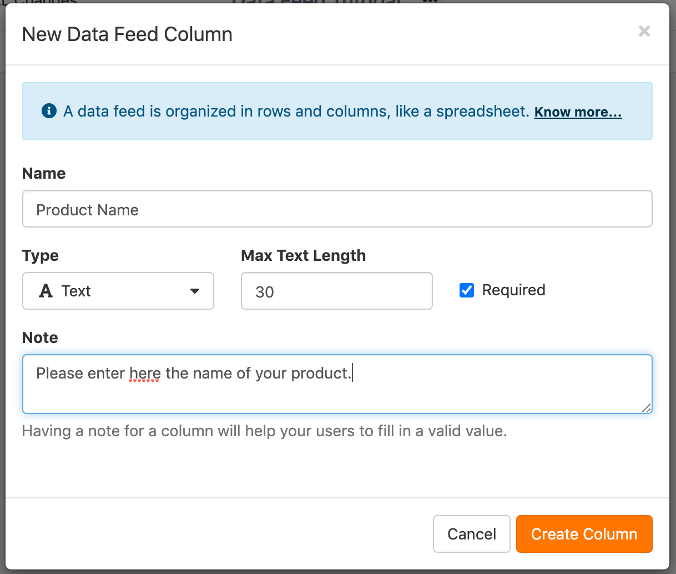
  • Name: Every Data Feed Column must have a name. This is how you will identify the Column within Apps.
  • Type: This defines the type of data entered into the column. Defining the correct type is so you later use filters and also match the fields required by the target apps for using the feed.

Data Feed Columns type can be set to:

  • Max length: This will add a restriction so users entering information on the feed cannot exceed a maximum length.
  • Optional: Marking the field as optional, will enable users to enter blank fields, otherwise input is required.
  • Note: Easy to read notes for helping users understand the content on the column.


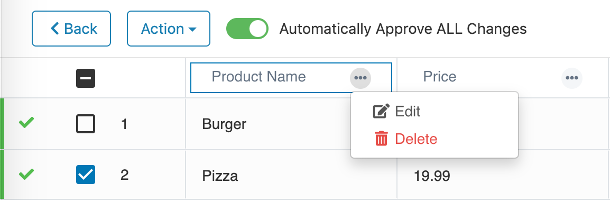
Once you have at least once a column set, you can start entering data into your Data Feed Table.

If required, you can either edit or delete a column by clicking on the three-dot icon available on each column.


    • Related Articles

    • Creating Events on Wordpress Website

      Creating Events on Wordpress Website This document describes how to add events on website.The below steps are an example of BJCTA website. 1. Login to wordpress website. 2. Click on "Events" on the left side and select "Add Event". 3. Add title and ...
    • Compositions and Data Feeds - Omni How To Video

    • How to connect your E13ulp to new a wireless pushbuttton

      To connect your E13ulp to a new wireless Text-To-Speech (TTS) pushbutton, you will require: ◻ The E13ulp display, connected to batteries ◻ The wireless pushbutton you intend to pair with the display ◻ A magnet ◻ The Button Unlocking Tool (Orange ...
    • Schedule HD - Columns

      Note: Versions of this application prior to version 2.02 were call "High Density", or "High Density Schedule" Purpose High Density Schedule App with Columnar Flight Board Style Layout. Supports 1-15 Rows Per Page and the Ability to Selectively ...
    • Changing How Routes Affected Are Displayed In Service Alerts

      On the left side of service alerts the routes affected are shown. This can be changed in by adding a data feed to the service alert app. The overwrite will change what is in the 'Route ID' to whatever is put in the 'Overwrite Route ID'. Colors can ...